How to Easily connect MongoDb with NodeJs
Whatever your academic background, be it technical or not, you’ve probably heard of MongoDB as well as Node.js. Isn’t it? These two technologies are commonly employed for web-based development. Therefore, if you’re looking to begin the career path in this lucrative industry, then knowing about how you can connect MongoDB to Node.js is an essential the first step. The good news is that you’ve stumbled upon this blog!! This Red Apple Learning’s DIY guide will be guiding you through the simple and easy procedures to join MongoDB to Node.js.
Getting Started
If you are aware of how web servers operate in the first place, then you’re aware it is that Node.js is used to create the frontend (server) element of a website. MongoDB serves as an online database that is which is used to store and organize information.
So, in this blog, we will be looking at ways to link them correctly…
STEP 1: Install MongoDB
Make sure MongoDB is either installed on your computer or that you have access to a cloud version like MongoDB Atlas.
There are two ways to do this:
1. Install MongoDB Locally:
- Visit MongoDB’s official site and download the Community Server:
Download MongoDB Community Server
To access the local MongoDB database, there are two methods:
- METHOD 1: CLI (Command Line Interface)
Download the Mongo Shell, which is a command line tool to interact with MongoDB:
Download MongoDB Command Line Tools - METHOD 2: GUI (Graphical User Interface)
Install the MongoDB Compass, so that you can manage your database:
Download Compass
2. Use MongoDB Cloud (MongoDB Atlas):
- Sign up at MongoDB Atlas
- Create a free cluster
- Set up a new database
- Copy the connection string from the database section then you will need this to connect your code with the cloud database.
STEP 2: You will need to set up the Development Environment properly
- Make sure the Node.js (version 22 or later) and npm are properly installed on your device.
- You can check it by running these commands in your terminal:
STEP 3: Now you will need to create a new project
- Create a new folder for your project:
- Initialize the project:
This will create a package.json file which will contain default settings.
STEP 4: Install the MongoDB as well as Node.js Driver
To connect MongoDB to your project, now you will have to install the driver using this command:
npm install [email protected]
STEP 5: Create a MongoDB Database
You can either use:
- A free cluster on MongoDB Atlas, or
- A local MongoDB instance
If using MongoDB Atlas:
- Log in
- Create a cluster
- Load sample data (optional)
- Copy your connection string
STEP 6: Connect to Your MongoDB Cluster
(Optional) Create a configuration file:
You can store your MongoDB connection string in a .env file so that you can keep your credentials properly secure.
Install the dotenv package:
npm install dotenv
Create your main application file:
- Create a file called index.js
Add this code to connect:
const { MongoClient } = require(“mongodb”);
const uri = “mongodb+srv://<user>:<password>@<cluster-url>?retryWrites=true&writeConcern=majority”;
const client = new MongoClient(uri);
async function run() {
try {
await client.connect();
const database = client.db(‘your-database-name’);
const collection = database.collection(‘your-collection-name’);
// Perform your database operations here } finally {
await client.close();
}
}
run().catch(console.dir);
Replace <user>, <password>, <cluster-url>, your-database-name, and your-collection-name with your actual values.
STEP 7: Run Your Node.js Application
Run the following command in your terminal:
node index.js
Additional Notes:
- Local MongoDB Connection:
If you’re using a local database, make sure it’s running. Use one of the following connection strings:
mongodb://localhost:27017 or mongodb://127.0.0.1:27017 - CRUD Operations:
Right after connecting, you can perform operations like:
– Create
– Read
– Update
– Delete
Right by using MongoDB’s methods.
To Wrap Up
Just by following these simple steps you will be easily able to connect a Node.js application to MongoDB. So, if you want to get started with a proper mentorship then the best will be with the assistance of joining a full-stack development course in Kolkata. You can also get a PPO which is also known as pre placement offer right on the day of admission. And once you complete the course, you will be eligible for high-paying job placements from the institute itself. If you wanna know more then you can call or WhatsApp: 6289690050 / 6291698908
The Author
Related Blogs
Discover more stories & insights that inspire
If you have been scrolling through tech career pages, we are sure that you have already noticed one thing that might be everyone from your college friends to tech influencers...
Top Reasons to Choose Full Stack Development as a Career Option in 2026 Nowadays we are actually living in a world which is absolutely digital. Starting from shopping to banking to education...
Top 4 IT Courses for Beginners (2026 Edition) Technology is moving faster than ever. Every year, new tools, programming languages as well as systems are changing how businesses work and how people...
Which Technology is Best for Front-End Development? React.JS VS Angular As you are thinking about learning full-stack development then we are sure that you might be confused about which...
How to Deploy Full Stack React App for Free? So, you have built your full stack React app… Front-end in React Backend in Node.js/ Express Maybe with MongoDB as the database...
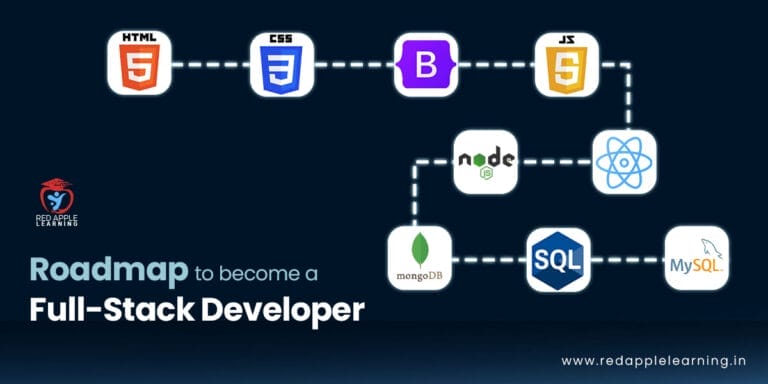
Roadmap to Become a Full-Stack Developer in 2023 Are you ready to start an exciting journey into the world of web development? Do you dream of building powerful web...
Full-Stack vs MEAN Stack vs MERN Stack: Which One Should I Learn In the world of web development, there are several stacks that developers can choose from to build robust...
How to Create a Simple Website Using React.JS? React.js is one of the most popular and widely used JavaScript libraries for building dynamic user interfaces. It is powerful, flexible, and...
Top 4 Programming Languages Every Game Developer Needs to Know The gaming market is expanding swiftly just not on a domestic scale but on a global scale...
Why JavaScript is Used in Full-Stack Development? The most widely used programming language for creating websites is JavaScript. It is used on all the layers of a...